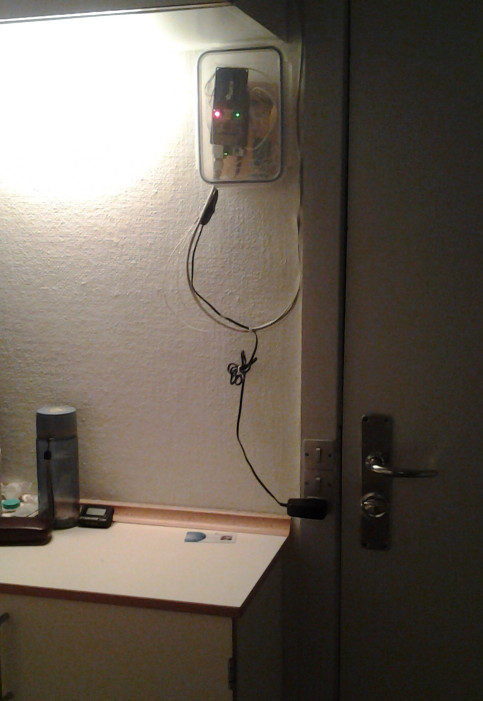
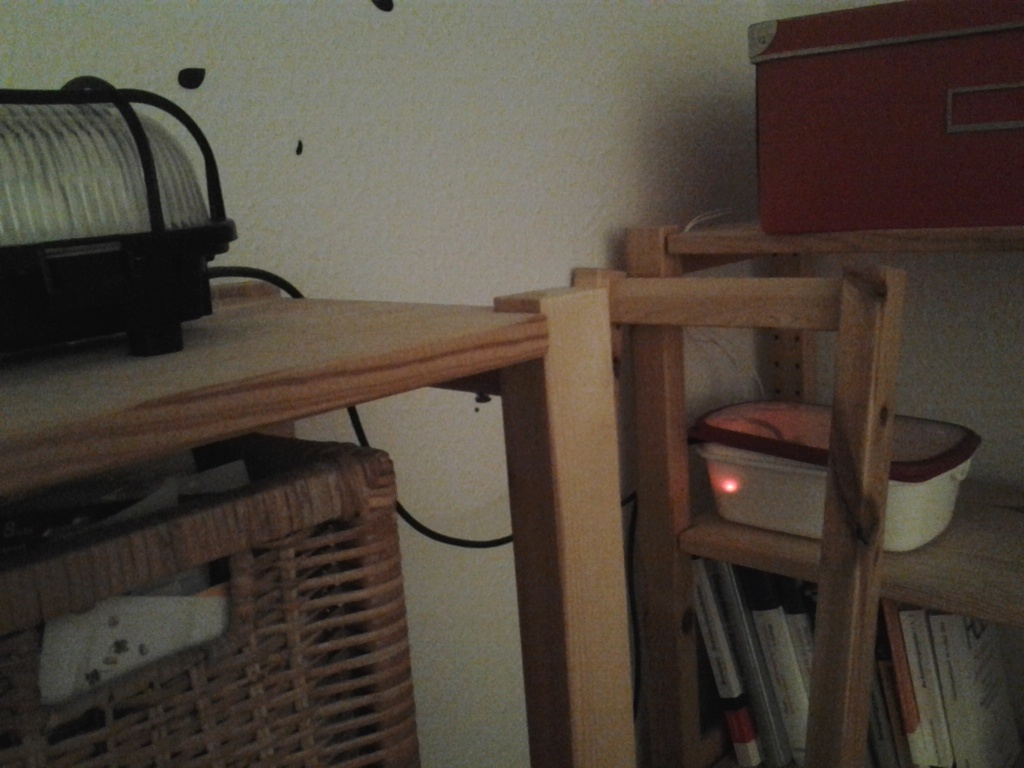
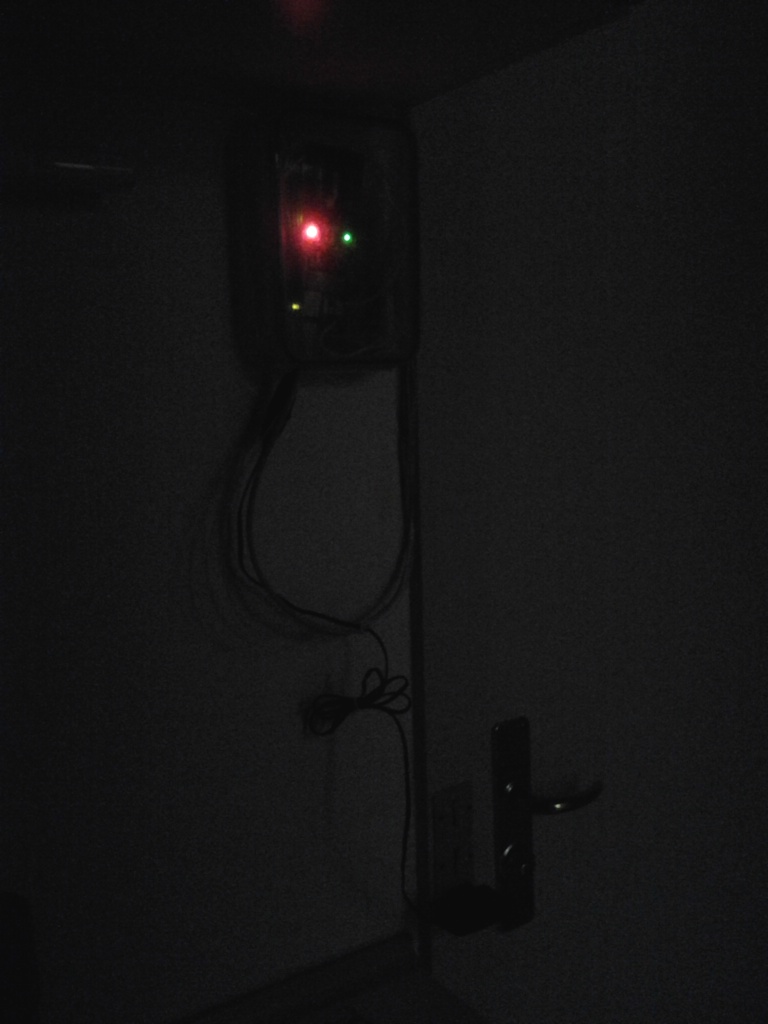
This is for now the last part of my home automation project. As you can see from the pictures below, I have drawn wires across the room to put all outlets, relays and of course the Arduino board to the places I had planned. The Arduino is at the entrance where I can scan my MiFare tag on entering and leaving and I have put up a new lamp, controlled by the relay. All wires are hidden as good as possible, so it looks quite nice in my opinion.
I spent much time today adding the security features to the project. From one of my former project for the “Practical Cryptology” course at DTU I know that the MiFare Classic tag hasn’t the highest standard of security, but on the other site, it’s in practice more secure than a physical key for example. If someone wanted to break into my room, they would find a way, one way or another and picking locks seems to be an easier solution (even if I never tried myself (but I would like to 😉 )) than trying to break the key of my MiFare tag.
The security consists of the following
- A distinct random key A and key B for all 16 sectors on the MiFare tag.
- A 128 bit secret stored in one of the sectors
Hence an attacker has to break on average 8 of the 48 bit key A or key B of the MiFare tag in order to find the secret, which is also stored on the Arduino. The Arduino knows the sector in which the secret is stored and the key A to that sector. The loop which checks the secret from the tag with the secret stored on the Arduino does always check all 16 bytes to avoid timing attacks.
But the tag is not the only point of attack (duh!), the telnet server is quite outdated in terms of security, but on the other hand the Arduino is not powerful enough for fancy encryptions, though I was considering to implement a stream cipher, but then fell back to a more simple and less secure solution. In order to avoid everyone on the network to control the Arduino through telnet, I have added a password, which has to be appended as prefix to every command, i.e. the command has to look like this: PASSWORD1-on, in order to turn on device 1. Since this is going to be send in clear text over the network, two options are available:
- The Arduino and the controlling server have an isolated network
- The Arduino and the controlling server are connected by trusted switches with static ARP tables (to protect against ARP poisoning/spoofing)
The password is also stored on the Arduino and is checked, when a new command is submitted. Again the full password is checked character by character to protect against timing attacks, even if the Arduino doesn’t react to wrong passwords, and hence not much timing information is available to an attacker.
I hope you find this project useful. Let me know if you have any comments or questions. Especially the security issues with home automation systems is what I found entertaining about this project, so let me know if you have any concerns about the security features, which I propose here.
All code is available here: home_automation_part3.zip
Comments are closed.